Forget those dry, sawdust-textured triangles you find at gas stations. We’re making Raspberry White Chocolate Scones that actually taste like heaven and won’t require a gallon of water to swallow.
I’ve burned enough batches to know exactly how to get that perfect flaky crumb every single time. Ready to become the neighborhood baking hero?
1. The Secret to the Perfect Texture

Why do most scones feel like eating a brick? It usually comes down to overworking the dough or using warm butter. You want ice-cold fat to create little steam pockets that lift the pastry.
If your hands are naturally like furnaces, use a pastry cutter instead.
- Frozen Grated Butter: Grate your butter while frozen for instant integration.
- Minimal Mixing: Stop as soon as the dough barely holds together.
- Heavy Cream: Use full-fat cream for the richest, most tender mouthfeel.
2. Fresh vs. Frozen Raspberries

Can you use fresh berries without turning your dough into a pink, soggy mess? It’s a gamble, honestly. Frozen raspberries hold their shape much better during the folding process, preventing bleeding. Plus, they’re available year-round, so you don’t have to wait for summer.
- Flash Frozen: Keep berries in the freezer until the very last second.
- Whole Berries: Don’t chop them; let them stay chunky and bold.
- Gentle Folding: Treat the berries like fragile glass so they don’t burst.
3.Choosing Your White Chocolate
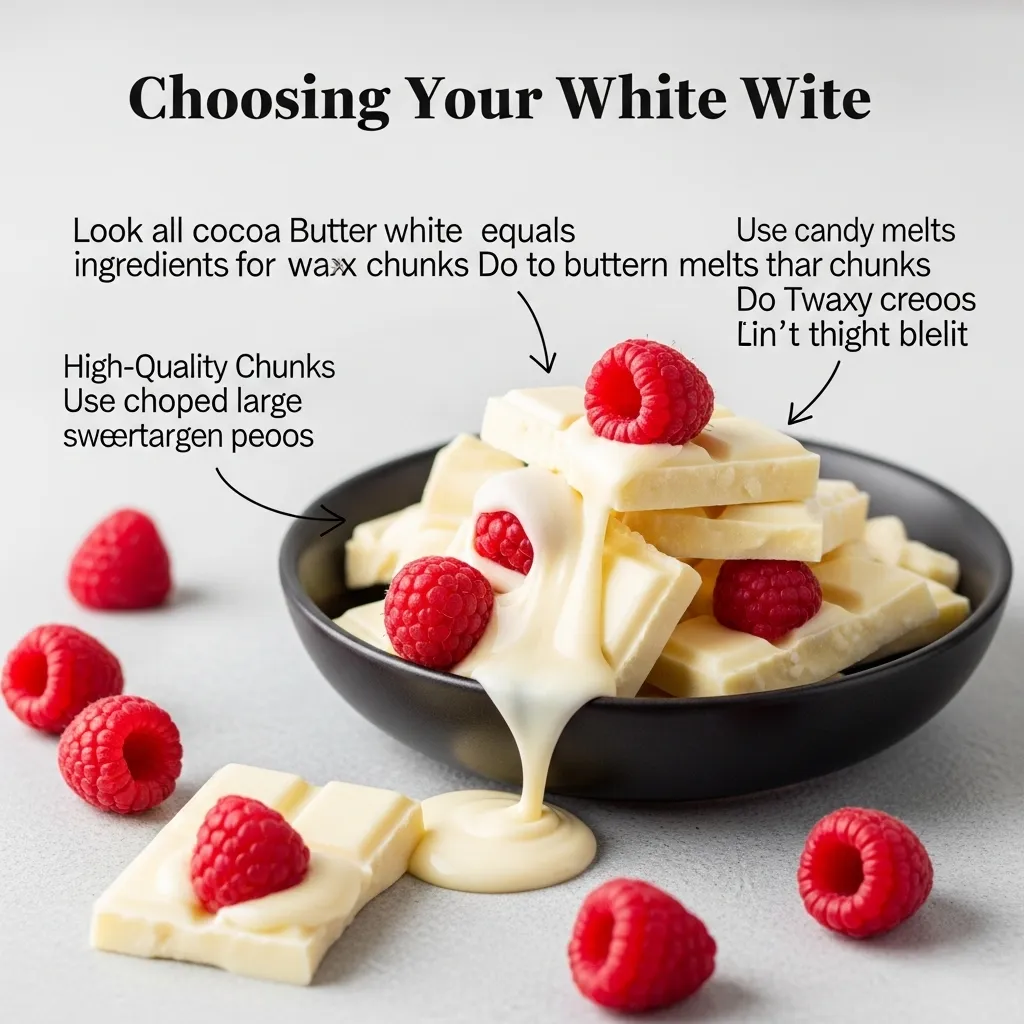
Not all white chocolate is created equal, and cheap “candy melts” will ruin your vibe. Look for real cocoa butter on the ingredient list for that buttery melt. Do you really want waxy chunks interrupting your berry bliss? I didn’t think so.
- High-Quality Chunks: Use a chopped bar rather than standard chips.
- Balance: The sweetness offsets the tartness of the raspberries perfectly.
- Texture: Large chunks create delicious, molten pools of sugar.
4. The Cold Logic of Chilling Dough

Ever wondered why some scones spread into flat pancakes in the oven? It’s because the baker skipped the fridge rest. Chilling the shaped dough for 30 minutes relaxes the gluten and firms up the butter. This step is non-negotiable if you want height.
- 30-Minute Rest: Pop the tray in the fridge before baking.
- Gluten Relaxation: This prevents the scones from being tough or chewy.
- Temperature Control: Cold dough hitting a hot oven equals maximum rise.
5. Mastering the Wedge Cut
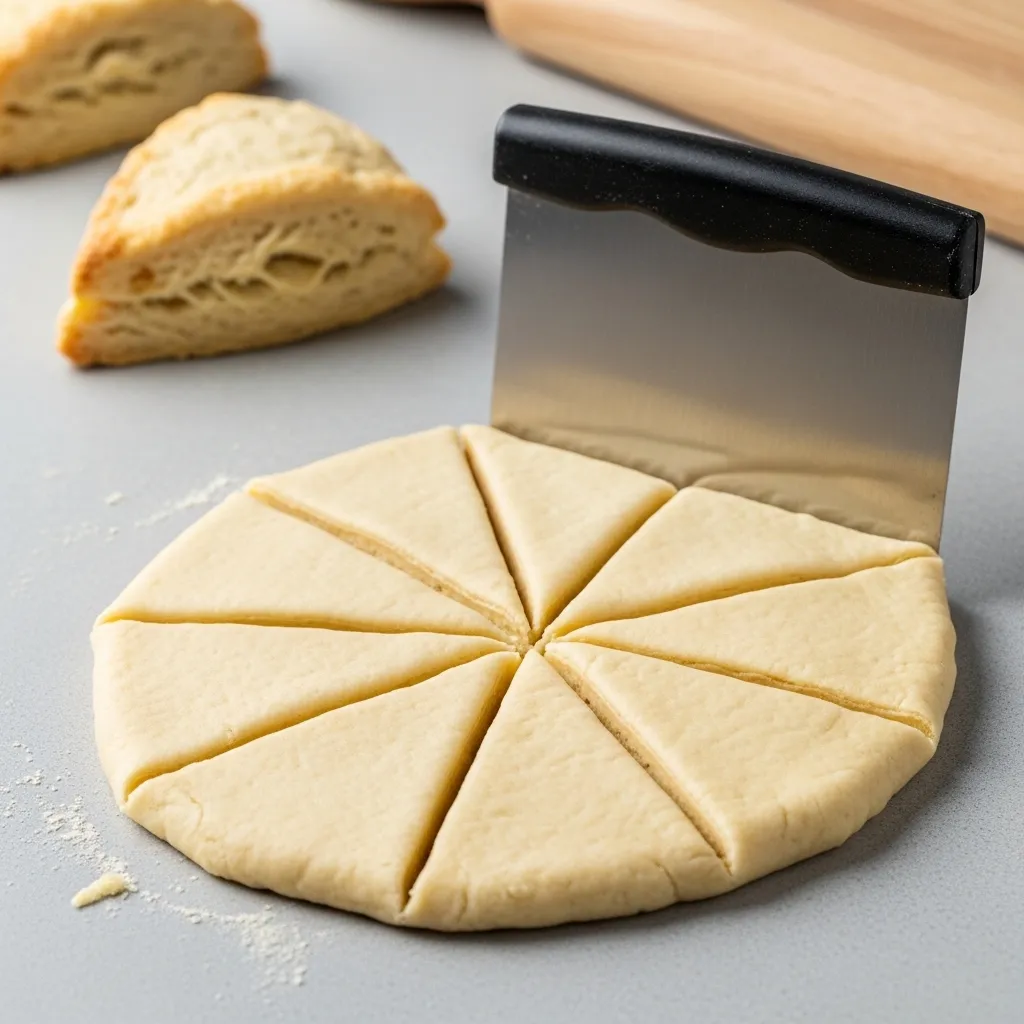
Does the shape actually matter, or is it just for aesthetics? While circles are cute, triangular wedges are the most efficient way to handle scone dough
. You handle the dough less, which keeps it cold and flaky. Who has time for repetitive stamping anyway?
- Bench Scraper: Use a sharp bench scraper for clean, vertical cuts.
- No Twisting: If using a round cutter, never twist; just press down.
- Uniform Size: Ensure even baking by keeping all wedges the same thickness.
6. Achieving the Golden Glow

How do professional bakeries get that shimmering, crunchy crust on top? A simple heavy cream wash followed by a generous dusting of coarse sugar does the trick.
It provides a satisfying crunch that contrasts with the soft interior. IMO, this is the best part. 🙂
- Cream Brush: Lightly coat the tops with cream before baking.
- Demerara Sugar: Use large-crystal sugar for a premium bakery look.
- Egg Wash Alternative: Use egg yolk for a deeper, darker golden hue.
7.Oven Temps and Timing

Is your oven actually lying to you about how hot it is? Most home ovens are off by at least 10 degrees, which is a disaster for pastry. Use an oven thermometer to ensure you’re hitting that sweet spot of $400^{\circ}F$.
- High Heat: A hot oven is crucial for that immediate steam lift.
- Middle Rack: Bake in the center to prevent burnt bottoms.
- Visual Cues: Look for browned edges and a matte top finish.
8.Common Scone Failures to Avoid

Why did your scones turn out like hard hockey pucks? You probably added too much flour or handled the dough like you were kneading pizza
. Treat the dough with respect, and it will reward you with fluffiness. FYI, over-baking is the ultimate flavor killer.
- Over-kneading: This develops gluten and makes the scones bread-like.
- Old Baking Powder: Check your expiration dates for maximum leavening power.
- Too Much Liquid: If the dough is sticky, your scones will be heavy.
9. Storing and Reheating Tips

Do scones actually stay fresh for more than four hours? Sadly, they are best eaten immediately, but you can save them if you’re smart. Air-tight containers are your best friend here, but avoid the fridge. It dries out the starches faster.
- Room Temp: Store in a sealed container for up to two days.
- Toaster Oven: Reheat at $350^{\circ}F$ to restore the exterior crunch.
- Freezing: Freeze unbaked wedges and bake them fresh whenever you want.
10. The Ultimate Serving Suggestions

What should you pair with these tart and creamy masterpieces? While they’re great solo, a little lemon glaze or a dollop of clotted cream takes them to another level. Ready to host the fanciest brunch of the decade?
- Lemon Drizzle: Mix powdered sugar and lemon juice for a zesty kick.
- Clotted Cream: Go full British with a thick, creamy topping.
- Hot Tea: A strong Earl Grey cuts through the white chocolate sweetness.
I hope you’re ready to fill your kitchen with the scent of toasted butter and berries. These scones are a total game-changer, and once you master the “cold butter” rule, you’ll never go back. Would you like me to generate a specific shopping list for these ingredients?